I was planning to write a quick vacation wrap-up post after Aaron and I spent a long weekend in Ithaca, N.Y.
And then I realized that could wait, because you only switch your cat from kitten kibble to adult food once, and that deserves a post to mark the occasion. Or at the very least, it’s a chance to dig up a couple of his baby pictures.

A lazy morning last week, when I realized exactly how enormous my cat has become.
I mean, really that’s no kitten. He’s grown. Or at least I hope he is. Barley crossed the 10-pound threshold more than a month ago, and his body seems pretty filled out. He’s grown into his feet.
So as we were running low on his bag of kitten kibble, we decided to make the switch to adult food. All of the cat care websites say to feed kitten food until the babbies are a year old, and Barley is only 9 or 10 months old. But since he seems so developed, and since I’m afraid he’ll be 15 pounds if we keep him on the fatty kitten kibble for two more months, we pulled the trigger.
It’s a kind of bittersweet moment. I mean, look at how little he used to be!

This was the very first day he ventured up the stairs, just a couple weeks after we adopted him.

One of his favorite things when he was teeny was pouncing on our down comforter. I may have egged him on by rustling under the blanket.
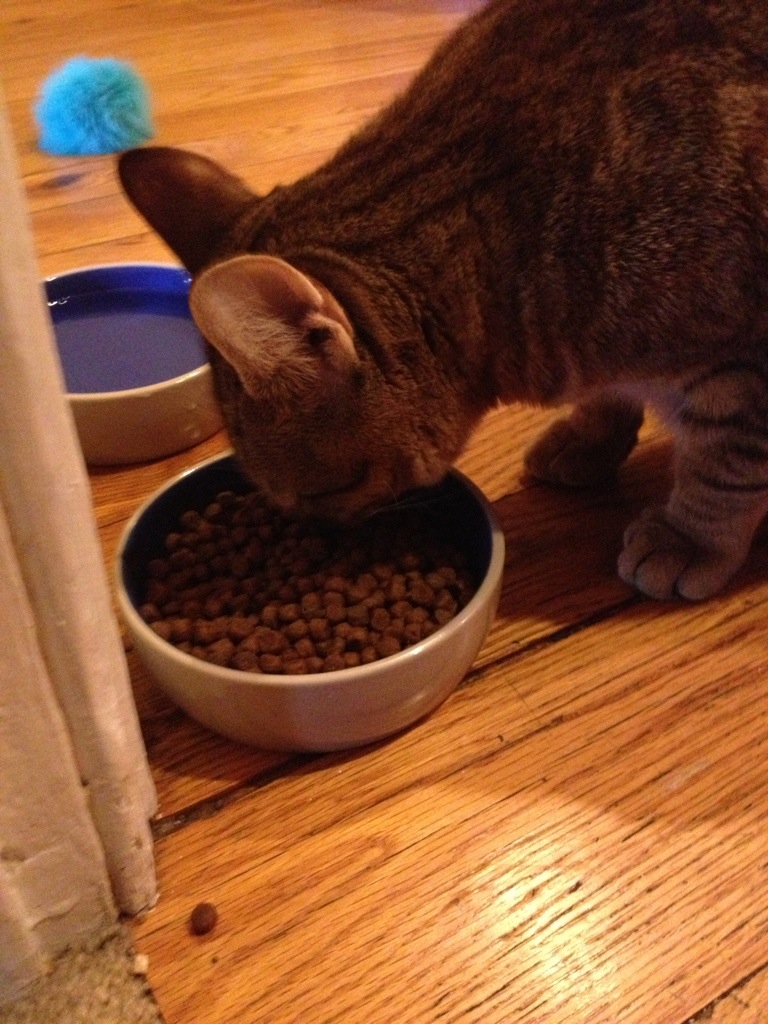
Digging in: After one meal, Barley appears to pretty content with his new menu options.
And he might enjoy a more refined palate now, but he still chows down like a champ.
More reminiscing: